
I bought 2 Raspberry Pi's, and I'll document here, what I did with both.
I am doing this on a Windows 8 Release Preview 32 bit, build 8400, AMD Athlon 7550 Dual-Core 2.50 GHz, 4 GB Ram.
First I went to Raspberry Pi's Official Site, under the download page and Downloaded the OS's I wanted.
Then I downloaded Win32DiskImager , then un-ziped it.
Very Important, I right clicked Win32 Disk Imager, and ran as administrator.

I clicked on the Blue Folder Icon, then browsed to my un-ziped OS, in this example its archlinuxarm-13-06-2010.img
I select the drive letter of the SD card in the device box. Make sure to select the correct drive; if you get the wrong one you can destroy your computer's hard disk!
I click Write and waited for the write to complete.
After that, I exit the imager and ejected the SD card.
Plugged the card in the Raspberry Pi, power it on, and it booted up.

The First OS I put on was Pwn Pi.
It's a security suite for the Raspberry Pi.
Default Login username is root and password root.

The picture above is what the desktop looks like.
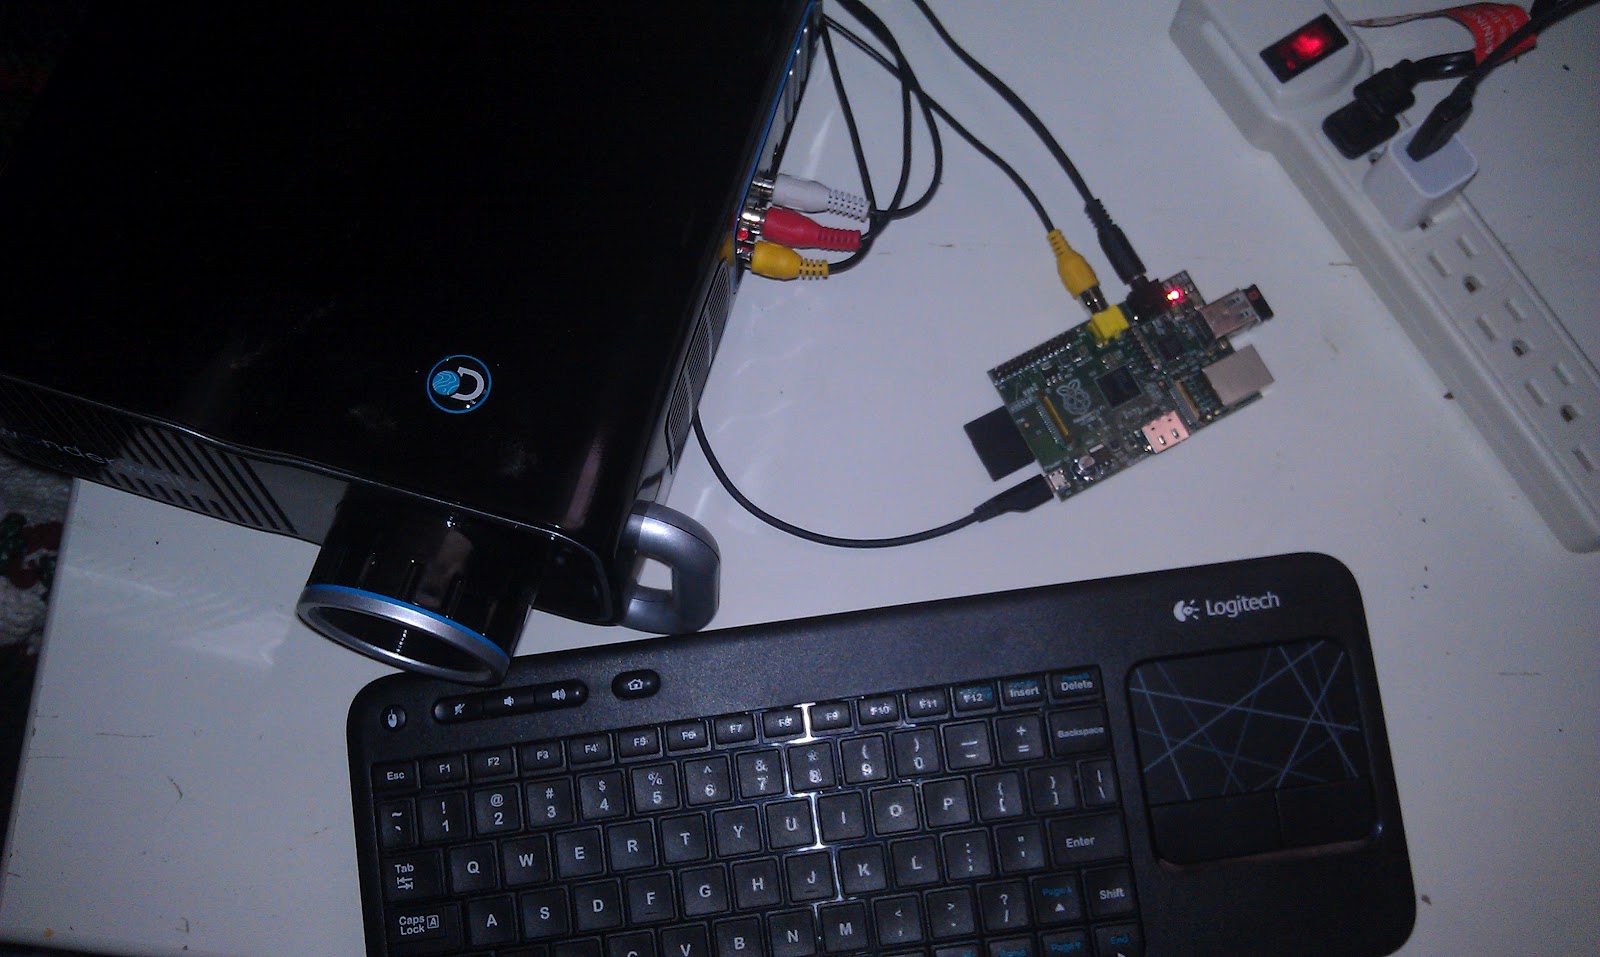
After that I switched to my second Pi and plugged in the Debian "squeeze" OS.

And plugged it into my 55 inch projection tv via the RCA jack, and it looks great!
So below I wanted to test my Discovery projector with the Raspberry Pi.
Via element14.com for $35
Via woot.com when it was on sale for $35
Via local Wal-mart for $30
Via icemonkey.com when it was on sake for $4.99
That's it for tonight, have a good one, and I'll be posting more soon!